A hiking backpack is the one piece of outdoor gear you feel on every step. The right pack moves weight onto your hips, keeps water and snacks within reach, and stays comfortable after hours on a trail. The wrong one pulls at your shoulders, rubs your back raw and turns a great day into a slog. The good news is that choosing well is not complicated once you know what matters: the right capacity for your trips, a proper fit to your torso, a suspension that suits the load, and a handful of features that make a real difference. This guide explains how to size and fit a hiking pack, frame types and features, day packs versus overnight and multi-day packs, the packs from our original list and who each suits, how to pack a pack so it carries well, and how to fly with one when your hike starts at the other end of a flight.
The short answer
For day hikes, a 20 to 30 liter daypack with a padded hip belt, a hydration sleeve or bottle pockets, and room for a warm layer and rain jacket covers most needs. For overnight and weekend backpacking, look at 40 to 65 liters with an internal frame, an adjustable torso length and a padded hip belt that carries most of the weight. Size by trip length and how bulky your gear is, not by what looks impressive. Above all, fit the pack to your torso length, not your height, and load it with weight before you decide. A well-fitted mid-priced pack will carry better than an expensive one that is the wrong size.
Choose capacity by trip, not by ambition
Backpack capacity is measured in liters. More space tempts you to carry more, and more weight is the enemy on a trail. Use the table as a starting point, then adjust for how compact your gear is and the season.
| Trip type | Typical capacity | What it holds | Frame and belt |
|---|---|---|---|
| Short day hike | 15 to 25 L | Water, snacks, layer, rain shell, first aid, phone | Frameless; simple webbing or light padded belt |
| Long or alpine day hike | 25 to 35 L | Adds extra layers, more food and water, map, headlamp | Light frame sheet; padded hip belt |
| Overnight or light weekend | 35 to 50 L | Compact tent or shelter, sleeping bag and pad, stove, food for one or two days | Internal frame; padded hip belt |
| Weekend, 2 to 3 nights | 50 to 65 L | Full camping kit, food for several days, more clothing | Internal frame; adjustable torso; supportive belt |
| Week or longer, winter trips | 65 L and up | Bulky winter gear, extended food, shared group gear | Robust internal frame built for heavy loads |
If you are new to hiking, start with the pack for the trips you will take most often. Many people do mostly day hikes with the occasional overnight, and a 30 to 40 liter pack can stretch to cover both if your gear is compact.
Fit: the part that matters most
Most discomfort comes from a pack that does not fit, not from a pack that is poorly made. Fit depends on your torso length and hip size, not your height; two people of the same height can need different sizes.
Measure your torso
Have someone measure along your spine from the prominent bone at the base of your neck (tilt your head forward to find it) down to the level of the top of your hip bones. That distance is your torso length. Manufacturers publish which torso range each size fits, and many overnight packs have an adjustable back system to fine-tune it.
Adjust in the right order
- Load the pack with a realistic weight, loosen every strap and put it on.
- Hip belt first. Center the padded belt over the top of your hip bones and tighten it firmly. The belt should carry most of the load on an overnight pack.
- Shoulder straps next. Snug them so they wrap your shoulders without taking the weight off your hips. The straps should attach to the pack a little below the top of your shoulders.
- Load lifters. If your pack has small straps from the top of the shoulder straps to the pack body, pull them to bring the load closer to your back.
- Sternum strap last. Clip it across your chest, a few centimeters below your collarbones, just tight enough to hold the shoulder straps in place.
Walk around, climb some stairs and lean forward. The pack should move with you, not sway or pull backward. Many brands offer women’s-specific fits with shorter torso ranges, differently shaped shoulder straps and hip belts, and these are worth trying regardless of how the pack is marketed.
Frame types
- Frameless packs are light and simple, ideal for day hikes and for ultralight backpackers who carry very little weight. They rely on how you pack them for structure.
- Internal frame packs have a frame sheet, stays or a perimeter frame inside the pack. This is the standard for overnight and multi-day hiking because it transfers weight to the hip belt and keeps the load close to your body for balance on uneven ground.
- External frame packs hang the bag on a visible frame. They are less common now but still carry heavy, awkward loads well and ventilate your back. They are less stable on rough terrain.
Features that make a real difference
- Padded hip belt with pockets. The belt carries the weight, and small belt pockets keep snacks, a phone and sunscreen in reach without stopping.
- Water access. Stretch side pockets you can reach while walking, or a hydration sleeve and port for a water bladder, keep you drinking often.
- Ventilated back panel. A suspended mesh back keeps air flowing and reduces a sweaty back in hot weather, at the cost of pushing the load slightly away from you.
- Rain cover. Pack fabrics are water-resistant, not waterproof. An integrated or included rain cover, plus a liner or dry bags inside, keeps a sleeping bag and clothes dry.
- Access. Top-loading is simplest and lightest. A front panel zip or a separate bottom compartment for a sleeping bag makes it easier to reach items without unpacking.
- Compression straps. These cinch a partly full pack so the load does not shift, and let you strap on a foam pad or tent poles.
- Tool loops. Loops for trekking poles and an ice axe matter on mountain routes.
- Durable fabric and zippers. Abrasion-resistant fabric at the base and sides, and sturdy zippers, make a pack last many seasons.
Weight: pack and base weight
Every gram of the empty pack is a gram you carry all day. Heavier packs usually have more padding, stronger frames and more features, which is worth it for heavy loads and often not worth it for light ones. Backpackers talk about “base weight”: everything you carry except food, water and fuel. Reducing base weight, by choosing a lighter shelter, sleeping bag and cooking kit, often lets you choose a smaller, lighter pack, which makes the whole trip more pleasant. Pack light first, then choose the pack that fits what you carry.
Packs from our original list
The packs below were featured in the original version of this guide. They cover a range of trips and budgets rather than a ranking, and models, sizes and features change, so check the current specifications and torso-fit range from the manufacturer or seller before you buy.
MOUNTAINTOP hiking backpack (25L and 40L)
MOUNTAINTOP’s hiking backpack, listed in 25 and 40 liter versions, is an affordable option for day hikes and light overnights. It focuses on lightweight comfort with padded straps, a breathable back panel and multiple pockets. The 25 liter size suits day hikers who carry layers, food and water; the 40 liter size can stretch to a light overnight if your camping gear is compact. It is a sensible first pack for newer hikers.
TETON 65L Explorer internal frame backpack
TETON Sports is known for budget-friendly camping and backpacking gear. The 65L Explorer is a large internal frame pack with an adjustable torso, a padded hip belt, multiple compartments and gear loops, and an included rain cover. It suits backpackers who need room for a tent, sleeping bag and several days of food, and who want an adjustable fit at a lower price than premium brands. At 65 liters, resist filling every corner; pack only what you need.
TETON 55L Scout internal frame backpack
The 55L Scout is a slightly smaller sibling of the Explorer, with the same approach: internal frame, padded hip belt and shoulder straps, compression straps, gear loops and a rain cover. For many weekend backpackers, 55 liters is a better middle ground than 65, especially with reasonably compact gear. It is also a practical choice for teenagers and for scout or school trips where budget matters.
Amazon Basics internal frame hiking backpack
The Amazon Basics internal frame pack is a budget option with adjustable straps, an included rainfly, compression straps and a separate sleeping bag compartment. It suits people trying backpacking for the first time who do not want to invest heavily before they know they enjoy it. As with any budget pack, check the fit carefully: an adjustable torso and a hip belt that sits properly on your hips matter more than extra pockets.
32 liter hiking backpack with internal frame and rain cover
The original list also included an unbranded 32 liter pack with a light internal frame, an adjustable chest strap, breathable padding and a rain cover. A pack of this size and style bridges the gap between a daypack and an overnight pack: ideal for long day hikes with extra layers and food, or a minimalist hut-to-hut or overnight trip. Generic packs vary a lot in quality, so look closely at stitching, buckles and zippers.
How to pack a hiking backpack
A well-packed bag carries lighter than a badly packed one of the same weight.
- Bottom: bulky, light items you will not need until camp, such as your sleeping bag and sleep clothes.
- Middle, close to your back: the heaviest items, such as food, water reservoir, stove and cook kit. Keeping weight close to your spine and around shoulder-blade height keeps you balanced.
- Outer middle and top: layers, rain jacket, first aid kit, water filter and toilet kit, where you can reach them quickly.
- Lid and hip belt pockets: map, snacks, sunscreen, headlamp, phone and insect repellent.
- Outside: as little as possible. Items dangling from the outside snag on branches and throw off your balance.
Whatever the trip, carry the essentials for safety: navigation, a headlamp, sun protection, first aid, a knife or repair kit, a way to start a fire, shelter, extra food, extra water and extra clothes. The US National Park Service explains each of the Ten Essentials, and our guide to travel first aid kits covers what a compact kit should include. In Canadian national parks, Parks Canada’s visitor safety page covers wildlife, weather and trip planning.
Footwear, clothing and the rest of your kit
A great pack cannot fix bad shoes. For well-maintained trails, trail runners or light hiking shoes work for many people; for rough terrain and heavy loads, boots with more support may suit you better. Our guide to comfortable walking shoes for traveling covers fit and break-in. A pair of light sandals or eco-friendly flip-flops makes a welcome camp shoe. Dress in layers of quick-drying fabrics rather than cotton, and pack a waterproof shell even on a sunny morning. For trips that combine town and trail, our guide to travel pants for men covers versatile, quick-drying options.
Flying with a hiking backpack
Many hikes start with a flight to the mountains. A few things to plan for:
- Size. Most packs above about 40 to 45 liters are too big for carry-on limits and will need to be checked. Smaller packs may carry on if they fit the airline’s dimensions; check the airline’s official page.
- Protect the straps. Loose hip belts and straps catch on baggage belts. Tighten everything, tuck straps away, and consider packing the pack inside a large duffel or a dedicated travel cover.
- Stoves and fuel. Camping fuel canisters are not allowed on passenger flights. Stoves may be allowed if they are completely clean and empty, but rules vary, so check before you pack and plan to buy fuel at your destination.
- Bear spray, knives and poles. Bear spray is generally not permitted on planes. Knives belong in checked bags, and trekking poles often have to be checked too. The TSA’s What Can I Bring? tool covers specific items for US flights, and CATSA’s what can I bring page covers Canadian airports.
- Batteries in the cabin. Spare lithium batteries for headlamps, GPS units and power banks generally must travel in your carry-on. The FAA’s PackSafe guidance explains the rules.
- Keep a carry-on day kit. Put your boots or trail shoes, a layer and any essential medication in the cabin with you, so a delayed checked pack does not stop you hitting the trail.
If you are traveling to the trailhead with other luggage, our main guide to travel luggage explains how to combine a checked bag with a carry-on, and our guide to the Peak Design Travel Backpack 45L covers the brand’s Outdoor Backpack 45L for trips that mix trails and towns.
Where to take a new pack
Some of the best hiking in North America is a short flight and a drive away. Calgary is the gateway to Banff and the Canadian Rockies; see our guide to things to do in Calgary and compare flights to Calgary. Denver puts Colorado’s Front Range within reach; compare flights to Denver. Vancouver pairs city and mountains in one trip; read our guide to things to do in Vancouver. For more ideas closer to home, our guide to America’s most unique state parks has trails for every level. Most trailheads are not served by transit, so a car is usually essential; our Calgary car rentals page is a good place to start for the Rockies. For overnight trips in US national parks, read the National Park Service’s guidance on backcountry camping, since many areas require permits.
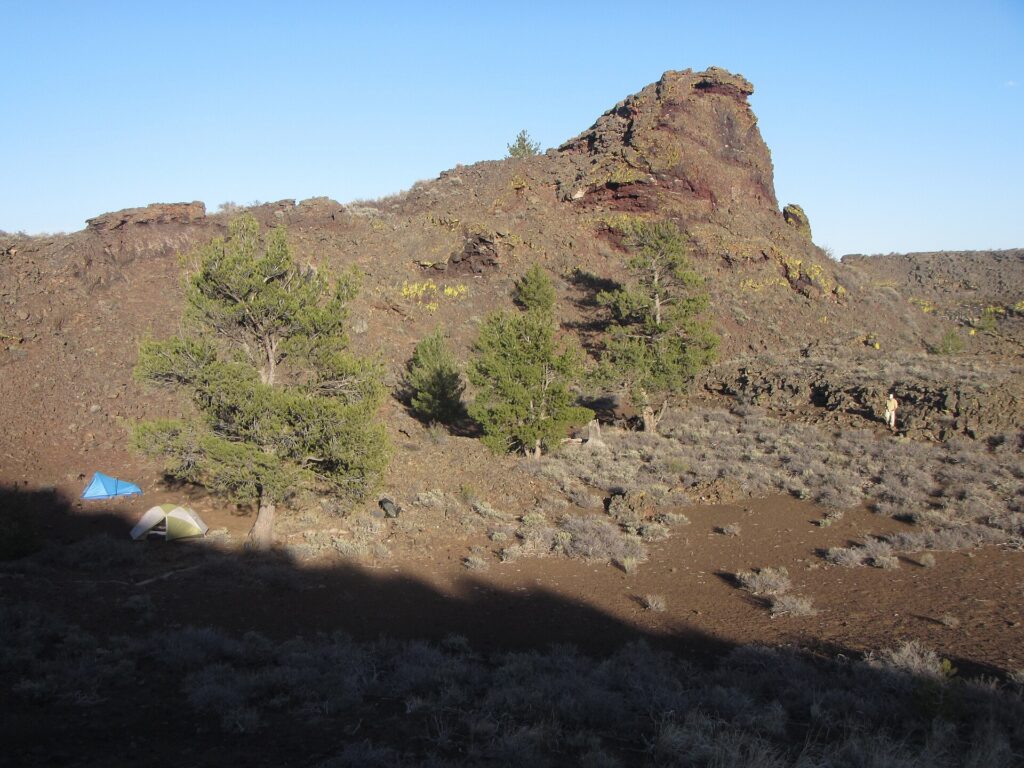
Day hike, overnight or multi-day: getting it right
Day hikes
Keep it light and simple. A comfortable daypack with a hip belt, two bottle pockets or a hydration sleeve, and room for the essentials. Choose a pack you would happily wear all day on a city trip too, since many travelers use one bag for both.
Overnight
This is where an internal frame earns its place. A 35 to 50 liter pack with a proper hip belt, a sleeping bag compartment and compression straps handles one night comfortably if your shelter and sleeping bag are compact.
Multi-day
Fit, frame and hip belt matter most. Test the pack with the full weight you plan to carry, including food and water, and make sure the torso length is right. A few hours with the pack loaded around your neighborhood before the trip will reveal hot spots.
Trying a pack before you buy
If you can, try packs on in a store that lets you load them with weighted bags, and wear each one for at least ten minutes while walking and climbing stairs. Bring the gear you already own, especially a sleeping bag and water bottles, to see how it fits inside. If you buy online, check the return policy first, load the pack at home with your real gear, and wear it around the house before taking the tags off. For children and teenagers, choose a pack with a generous torso adjustment range so it can grow with them, and keep their loads light.
Caring for your pack
Empty the pack completely after every trip, shake out dirt and crumbs, and let it dry fully before storing it to avoid mildew. Clean it with a sponge, lukewarm water and mild soap; avoid washing machines and harsh detergents, which damage coatings and foam. Rinse a hydration bladder and let it dry open. Store the pack loosely, out of direct sunlight, in a dry place. Check buckles, stitching and zippers before each season; small repairs are easy early and hard in the backcountry.
Common mistakes
- Choosing by height, not torso. Measure your torso and check the size chart.
- Buying too big. A 70 liter pack for a weekend trip invites overpacking.
- Carrying the weight on your shoulders. Tighten the hip belt on your hip bones first.
- Heavy items at the bottom or outside. Keep heavy gear close to your back and centered.
- Trusting fabric to stay dry. Use a rain cover and a liner or dry bags.
- First use on the big trip. Try the pack loaded on a shorter hike first.
- Checking a pack with loose straps. Straps catch on baggage systems; tuck them or use a cover.
Frequently asked questions
What size hiking backpack do I need?
Roughly 15 to 30 liters for day hikes, 35 to 50 for overnights and 50 to 65 for weekend trips of two or three nights. Longer or winter trips may need more. Compact gear lets you go smaller.
How do I know if a hiking pack fits?
The hip belt should sit on top of your hip bones and carry most of the weight, the shoulder straps should wrap your shoulders without gaps, and the pack should not sway when you walk. Choose the size by torso length.
Is an internal frame backpack worth it for day hikes?
For most day hikes, a frameless or lightly framed pack is enough. A frame helps on long days with heavy water, winter layers or camera gear.
Are budget hiking backpacks any good?
Many are fine for occasional use, especially for beginners. Check the fit, hip belt and build quality carefully, and upgrade once you know what you need.
Can I bring a hiking backpack on a plane?
Smaller packs may fit carry-on limits. Larger packs usually need to be checked, with straps tucked away or the pack placed in a cover. Fuel, bear spray and some tools are restricted.
Do I need a women’s-specific hiking pack?
Not necessarily, but women’s-specific fits often have shorter torso ranges and shaped straps and hip belts that suit many bodies better. Try both types.
Should I use a hydration bladder or bottles?
Bladders make it easy to sip often; bottles are easier to refill, check and clean. Many hikers use one of each.
Once the pack is ready, pick the trail. Compare fares on our flight search for a mountain getaway, find a base near the trails on our hotel search, and book a car for the drive to the trailhead on our car rental search. For the Rockies, our guide to the best time to fly to Calgary will help you time your trip for the hiking season.
Keep planning with TicketScanner
- Top travel luggage bags: the buying guide — the travel gear guide
- Peak Design Travel Backpack 45L and carry-on travel packs
- Anti-theft backpacks for travel and commuting
- Comfortable walking shoes for traveling
- Travel first aid kits
- Travel pants for men
- Eco-friendly travel flip-flops
- Cheap flights to Calgary — gateway to the Rockies
- Things to do in Calgary